Residential · Project playbook
From hailstorm to finished roof: a two-story shingle replacement
A spring hailstorm, a homeowner unsure whether the damage was real, and a roof that ended up replaced with an impact-resistant upgrade.
Illustrative walkthrough of a typical project — not a record of a specific RoofMaster job. Photos are licensed stock.
- Property
- Two-story suburban home, ~32 squares
- Existing roof
- 3-tab shingles, about 14 years old
- Trigger
- Spring hail, 1¼" stones reported
- Scope
- Tear-off, deck repair, Class 4 shingles, ventilation, gutters
- Install time
- 3 working days
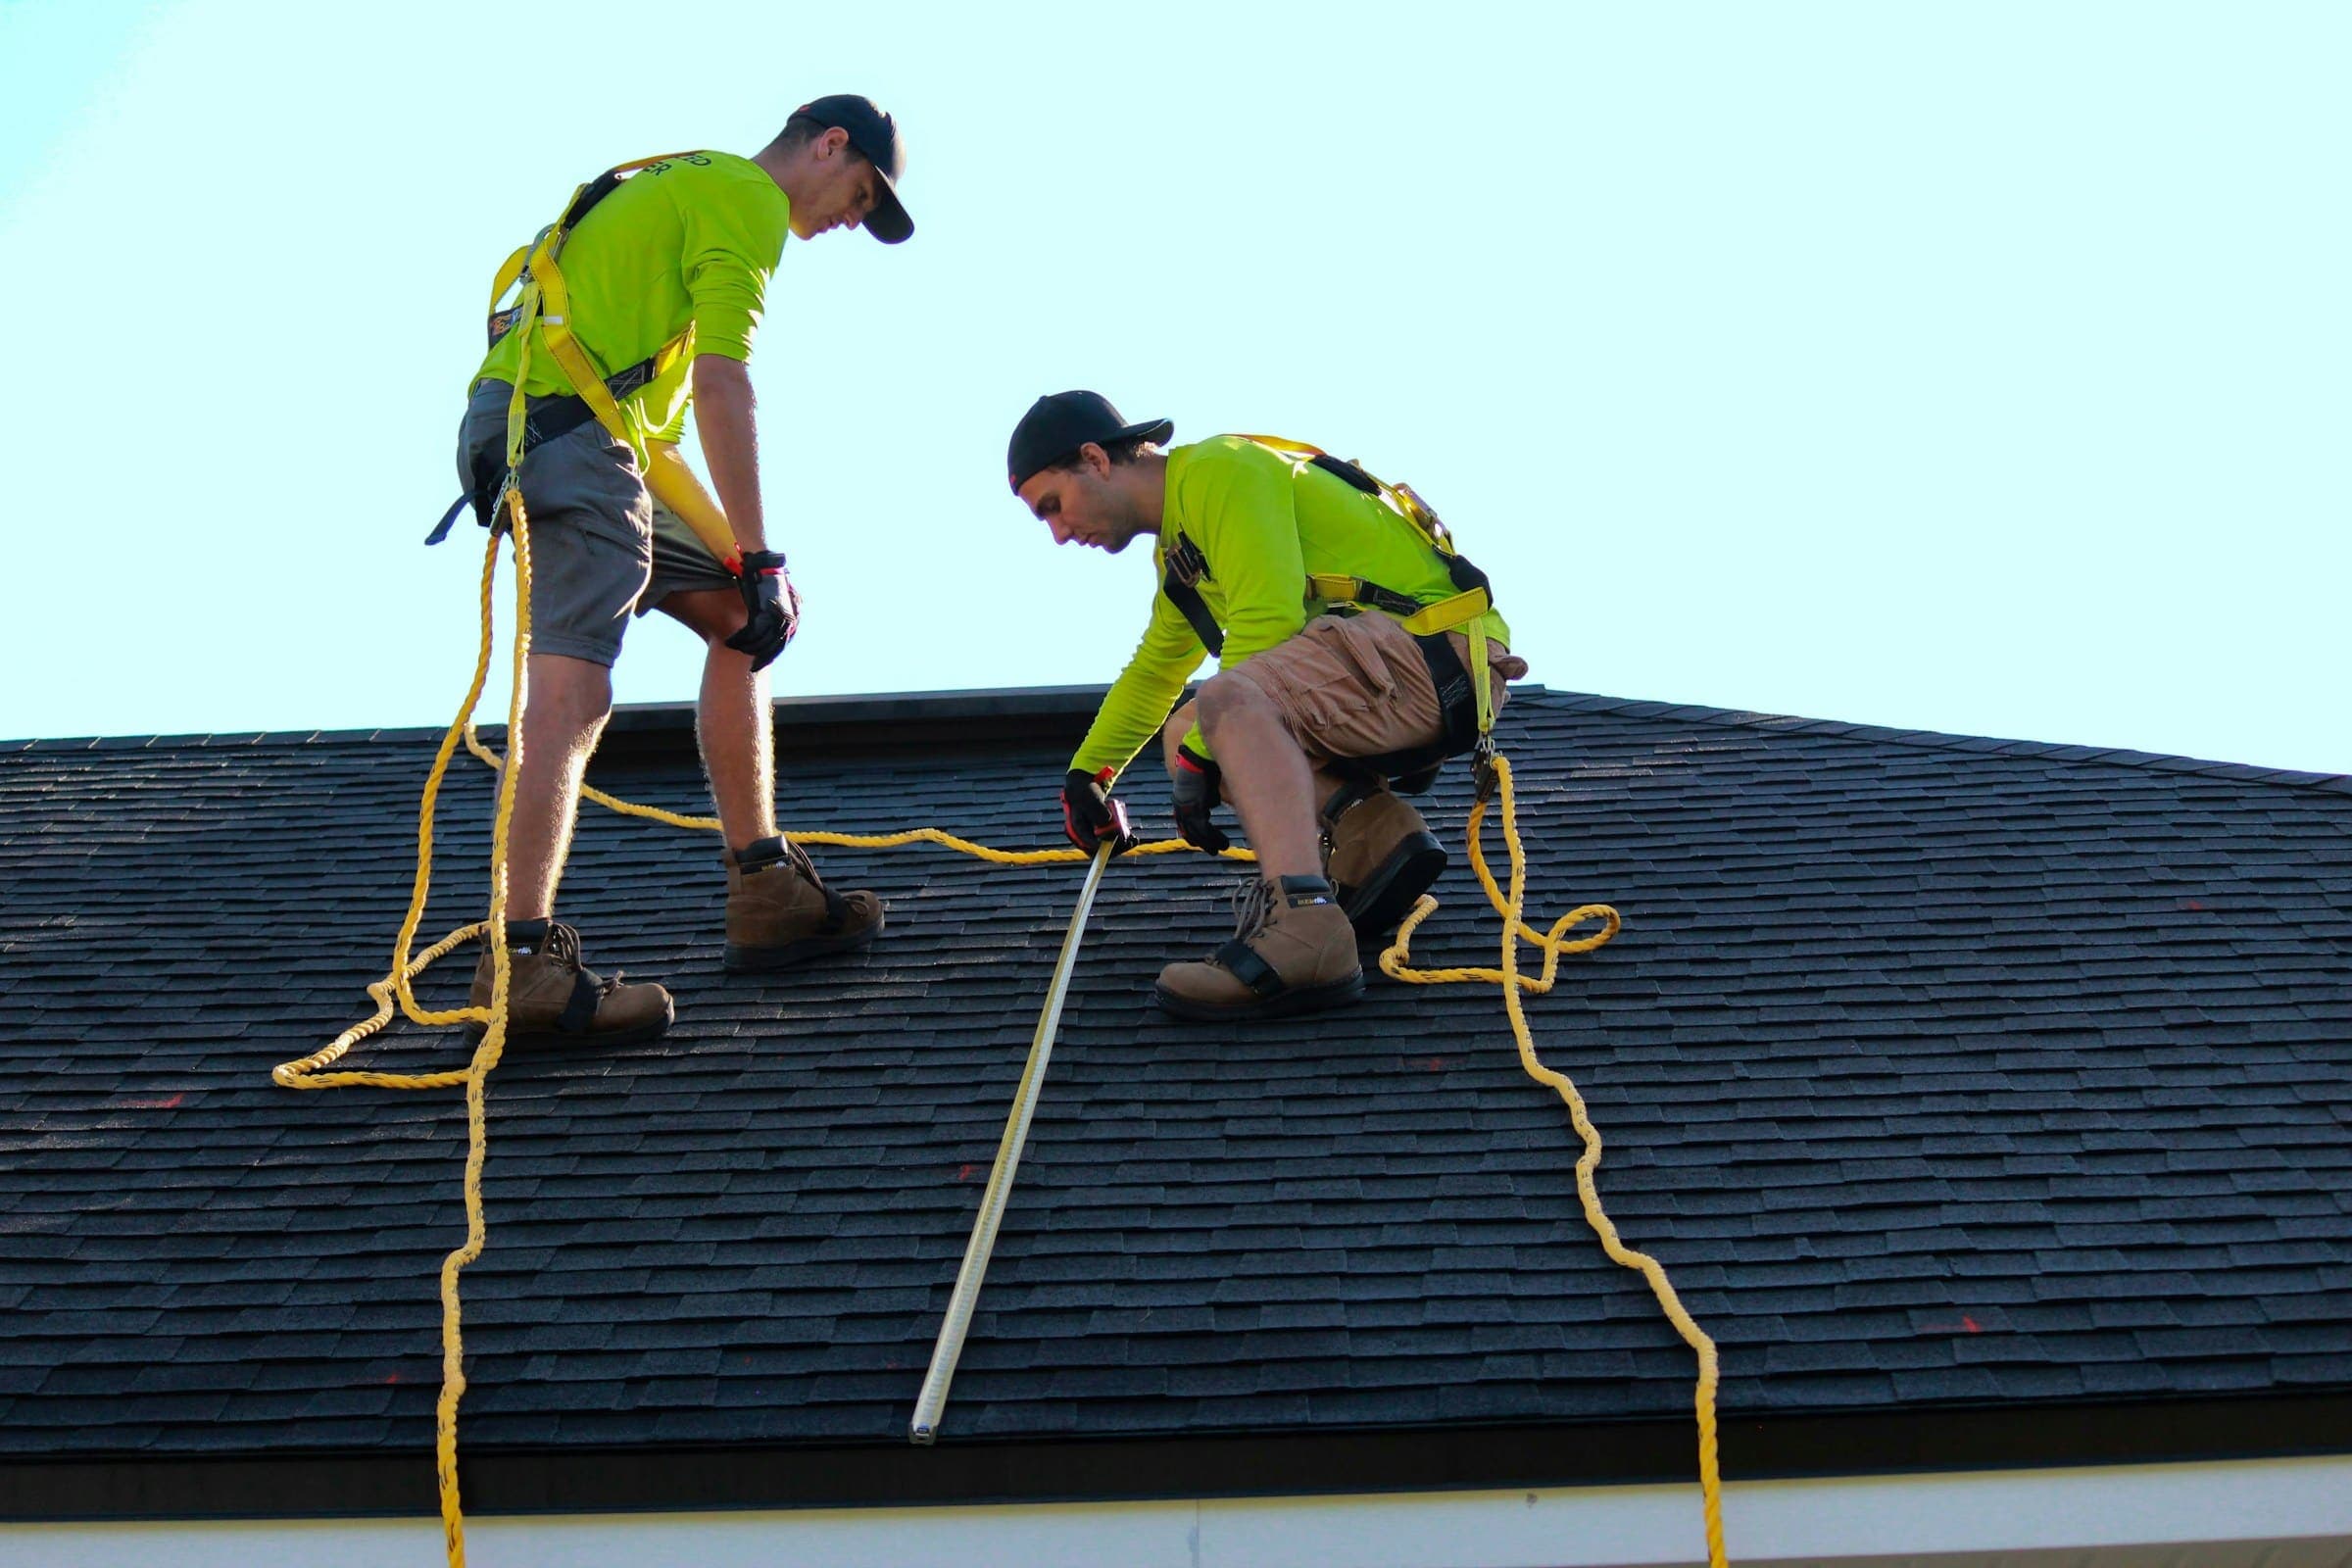
The situation
Two days after a hailstorm, three contractors had knocked on the door. The homeowner’s question was simple: is there actually damage, or is this a sales pitch?
Our inspection found consistent hail hits across the west and south slopes, dented roof vents and gutters, and granule loss at the downspouts. The north slope was largely untouched, which is typical for storm direction.
Challenges
Uneven damage
Damage on two of four slopes raised the question of partial vs. full replacement. Matching 14-year-old 3-tab shingles was not possible.
Percentage deductible
The policy carried a 2% wind/hail deductible, a number the homeowner hadn’t realized until reviewing the policy.
Hot attic
Soffit vents were painted shut, so the attic had exhaust but almost no intake — one reason the old shingles had aged quickly.


How it ran
- Day 1
Inspection & report
Slope-by-slope photos, test squares, collateral damage documented. Report delivered next morning.
- Weeks 1–3
Claim & adjuster meeting
Homeowner filed. We met the adjuster on the roof at the homeowner’s request and walked through each documented slope.
- Week 3
Scope comparison
We compared the insurer’s estimate line by line against our scope. The homeowner submitted documentation for items not included, such as drip edge required by code.
- Week 4
Upgrade decision
Homeowner chose Class 4 shingles, paying the difference above the insured scope, after confirming a premium credit with their agent.
- 3 days
Installation
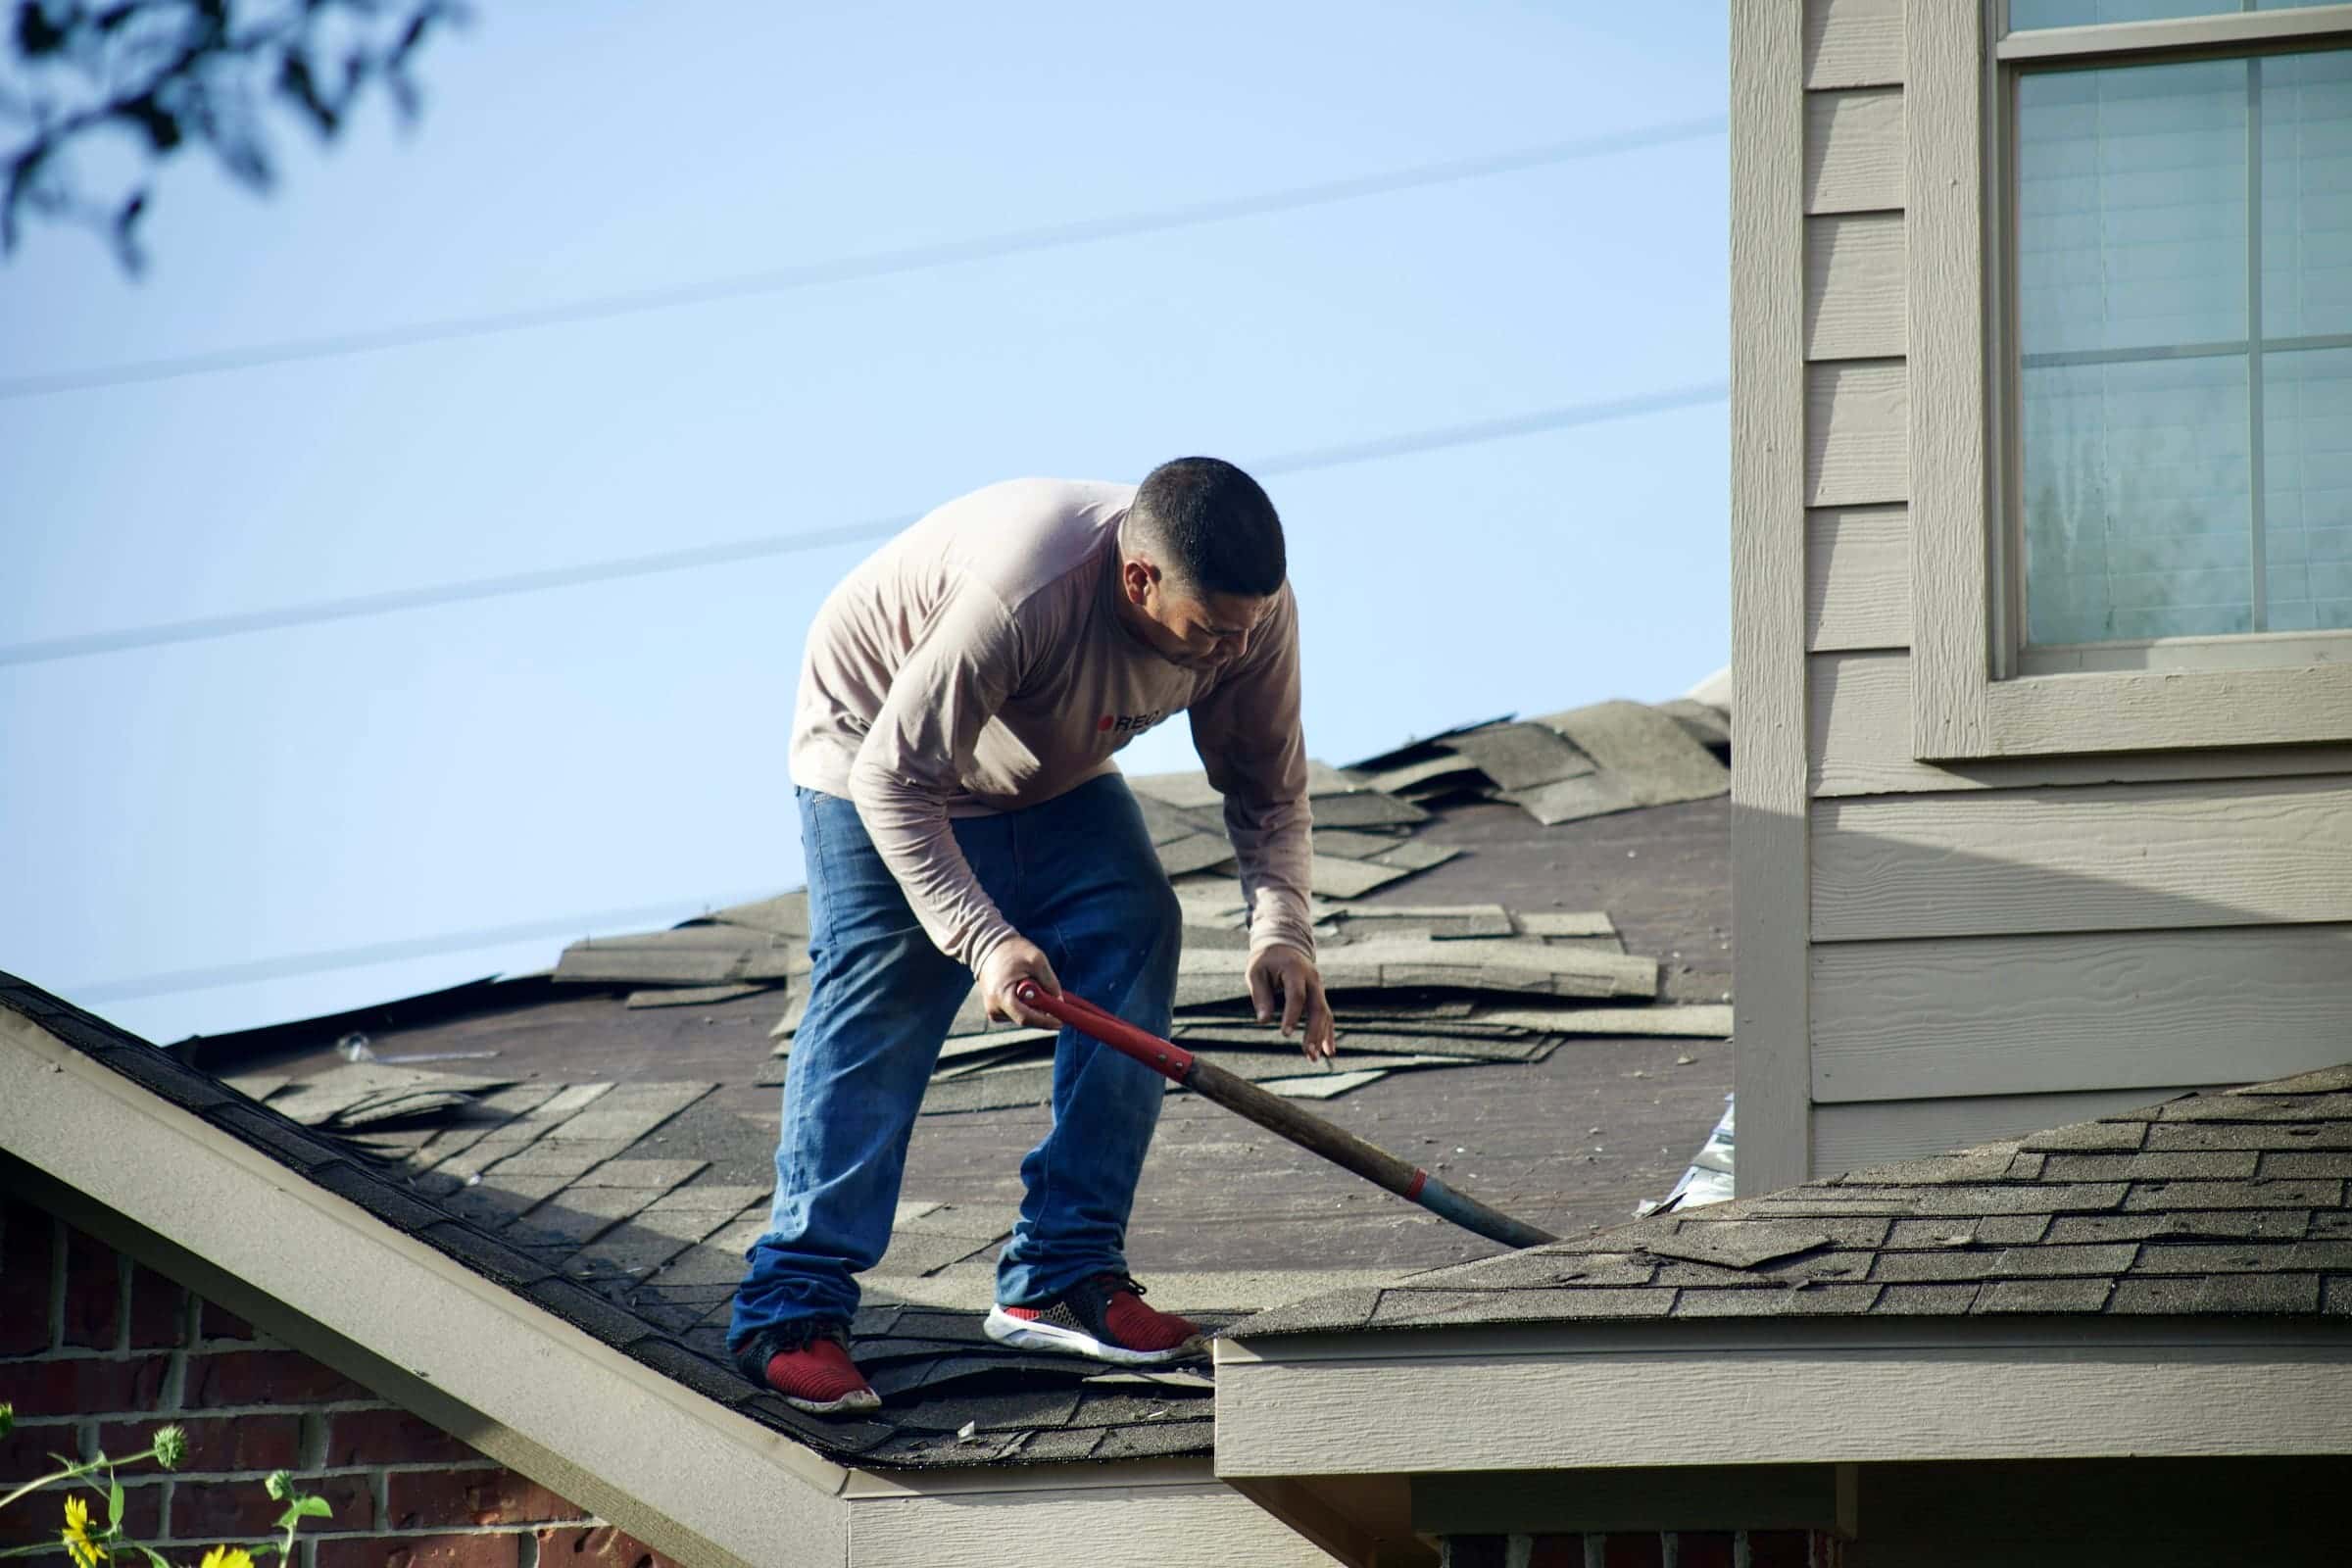
Tear-off, six sheets of decking replaced at the pre-agreed unit price, ventilation corrected, shingles installed, gutters replaced.
Key decisions
- Repair two slopes or replace everything?
- Because the existing shingles couldn’t be matched and the roof was near the end of its life, a full replacement was the sound choice.
- Pay for an upgrade?
- An upgrade to Class 4 is a homeowner cost above what insurance covers. The deciding factor was a confirmed premium credit and the home’s hail exposure.
What drove the cost
- Roof size and two-story access
- Class 4 upgrade difference
- Decking replacement at agreed per-sheet price
- Ventilation correction
- Gutter replacement
The takeaway
Get a documented inspection before deciding anything, read your deductible terms, and treat upgrades as a separate, deliberate choice.
More walkthroughs: The leak that didn’t need a new roof: chimney flashing rebuild · Keeping tenants open: a retail center roof recover
Next step
Facing a similar decision?
Start with an inspection and a photo report. You’ll see the same kind of reasoning applied to your roof.